Mask with a sewing machine


Step 1 - Before we start
The mask that we are going to create has three different layers:
- 1 layer of cotton fabric on the above
- 1 insertable filter in the middle:
- It can be disposable (handkerchief, paper towel, dusting wipe)
- It can be reusable and washable, it is more ecological (microfiber cloth)
- 1 layer of cotton fabric underneath
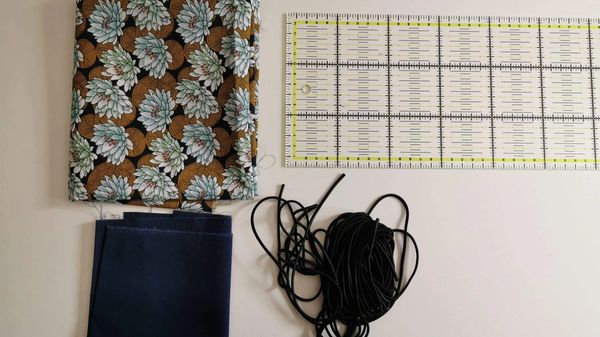
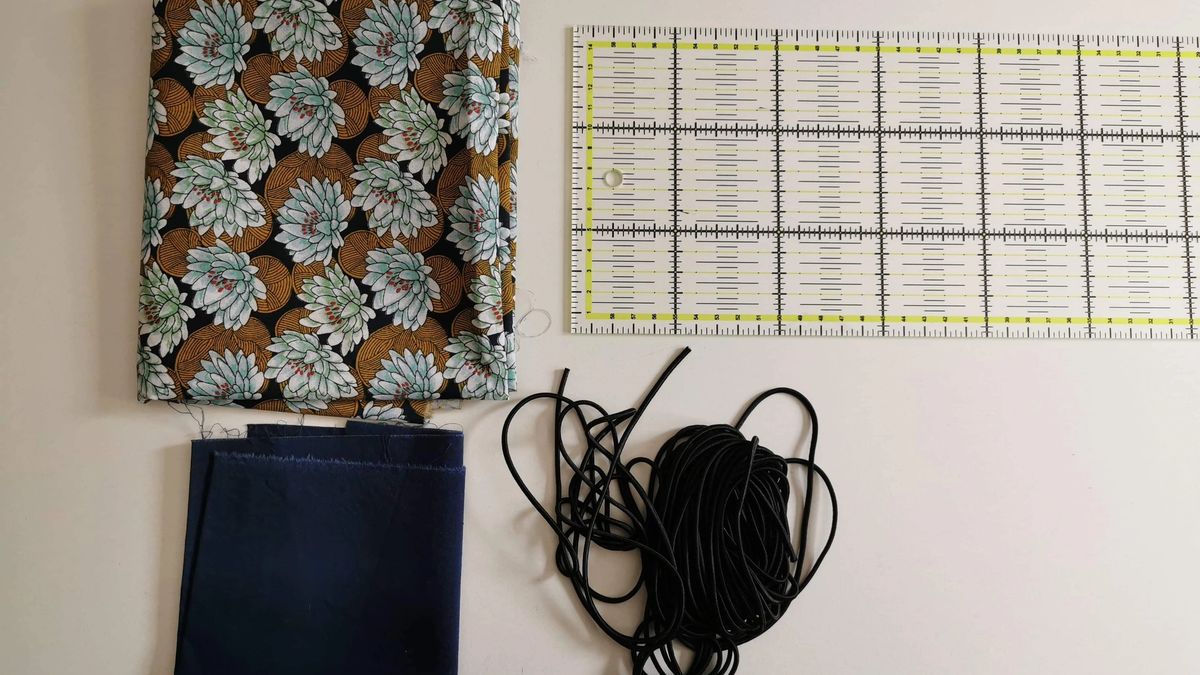
Step 2 - What we need
You will need:
- 1 sewing machine
- Some cotton fabric (you can use different fabrics for the front and the back)
- Elastics (standard adult length: 17cm / 6.7in)
When choosing a cotton fabric, it's important to check that the threads that compose it are tight enough to act as a barrier.
A simple and efficient test is to observe if the sunlight is passing through it. If a lot of light passes through, then select a fabric which seems more opaque to it, because the meshes that compose it are tighter.
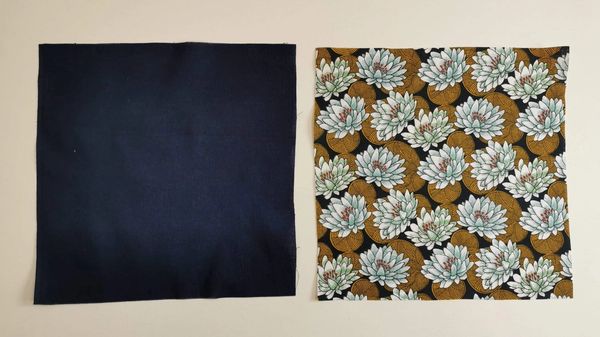

Step 3 - Sewing pattern
The standard sewing pattern requires tracing a 20x20cm / 7.9x7.9in square in your two cotton fabrics. The seam allowances are included in these dimensions.
You can use our standard sewing patterns. Print them in full page then cut.

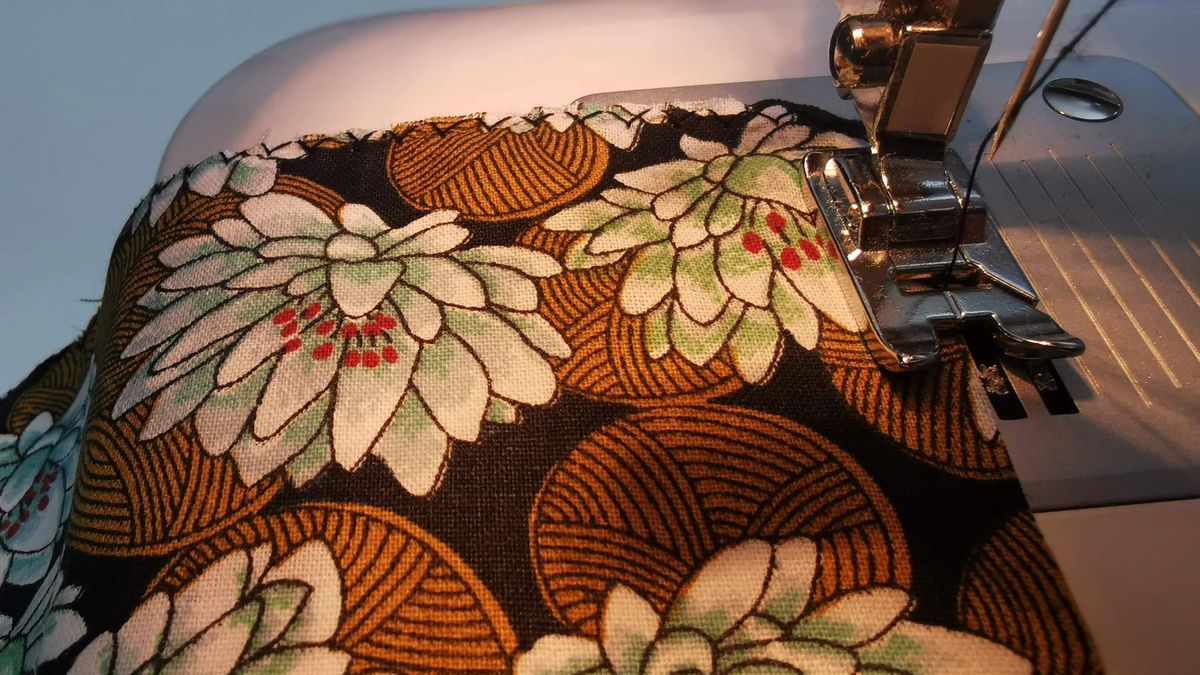
Step 4 - Sewing the edges
Use a zigzag stitch on all edges.
Fold over 1cm / 0.4in.
Sew the top edge with a straight stitch for a cleaner result. This will be our mask opening, it will be used to insert the filter inside.
Step 5 - Folding
Once the two cotton squares are cut, mark the folding lines A1, A2, B1, B2 on them.
Fold the points A1 over A2.
Do the same thing with B1 over B2.
Pin it.
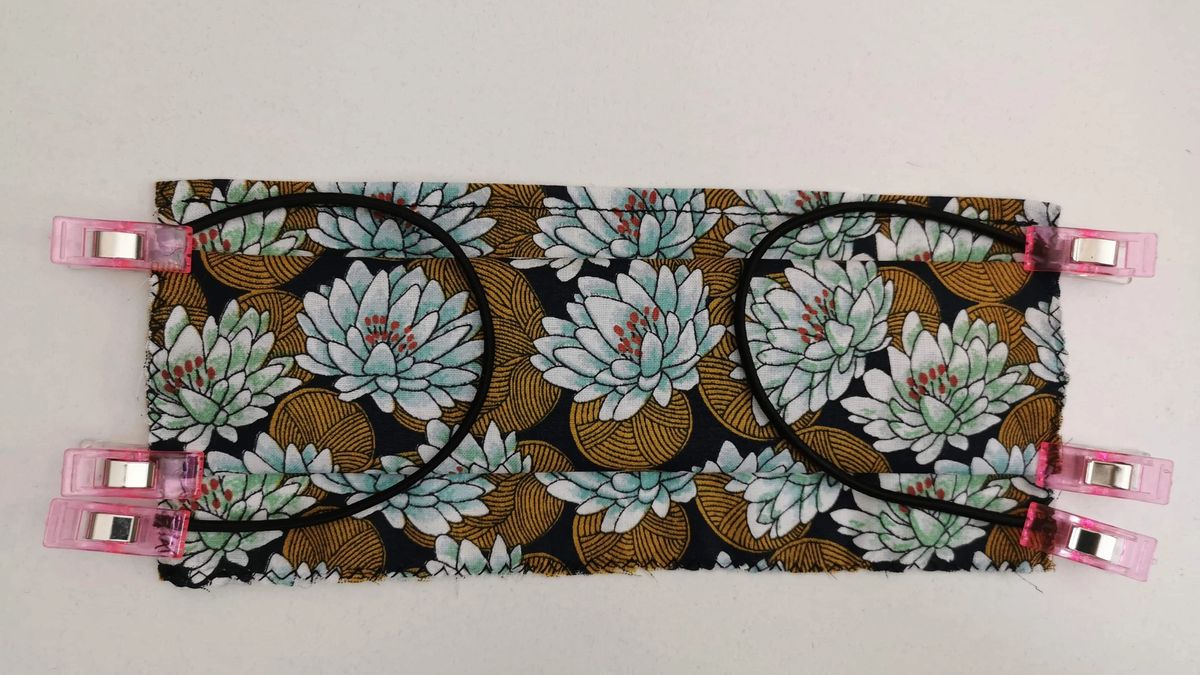
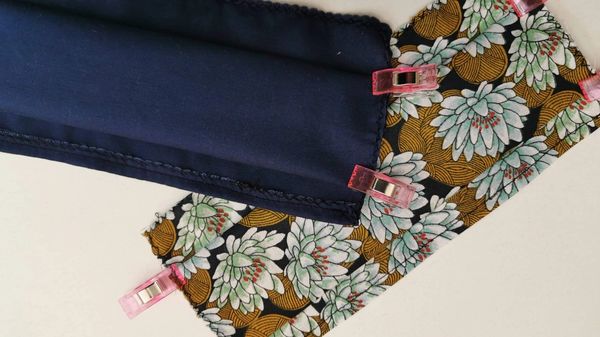
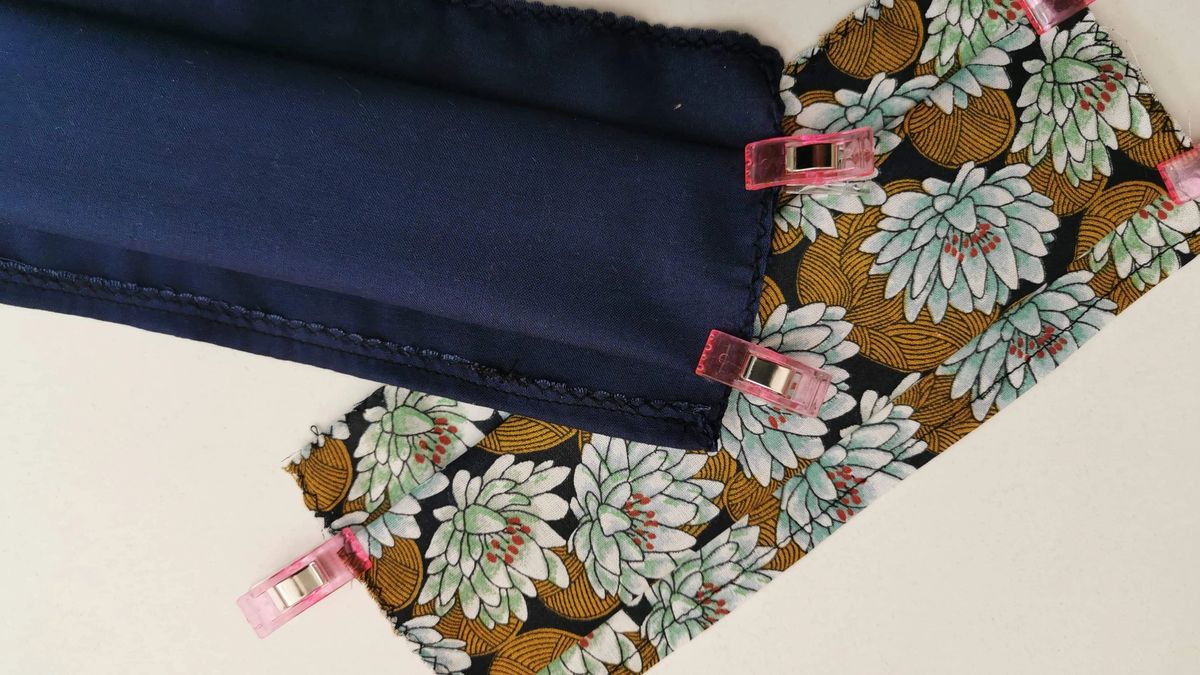
Step 6 - Add the rubber bands
Add the elastics:
- either on each side to attach them to your ears
- either on the width to tie them behind your head
Stack the two squares on top of each other.
Pin it.
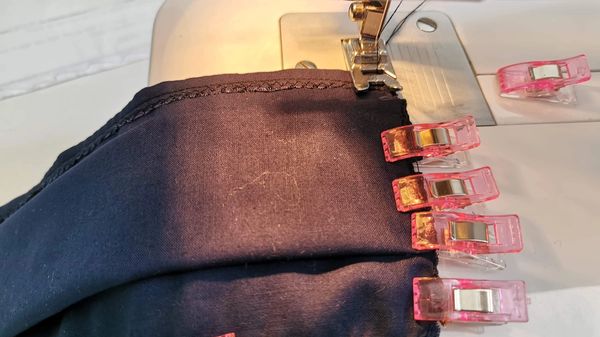
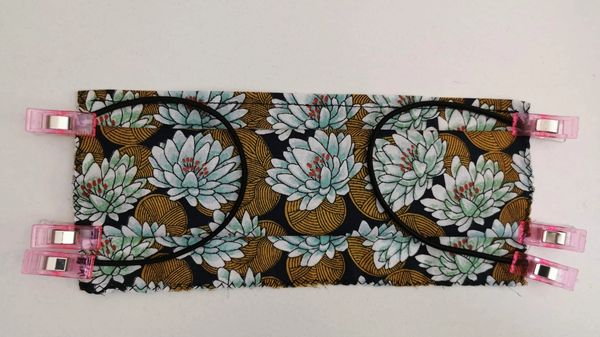
Step 7 - Sewing the squares
Sew the edges.
Attention, you must not sew the top edge.
Start on one side, move to the bottom edge and finish on the other side.
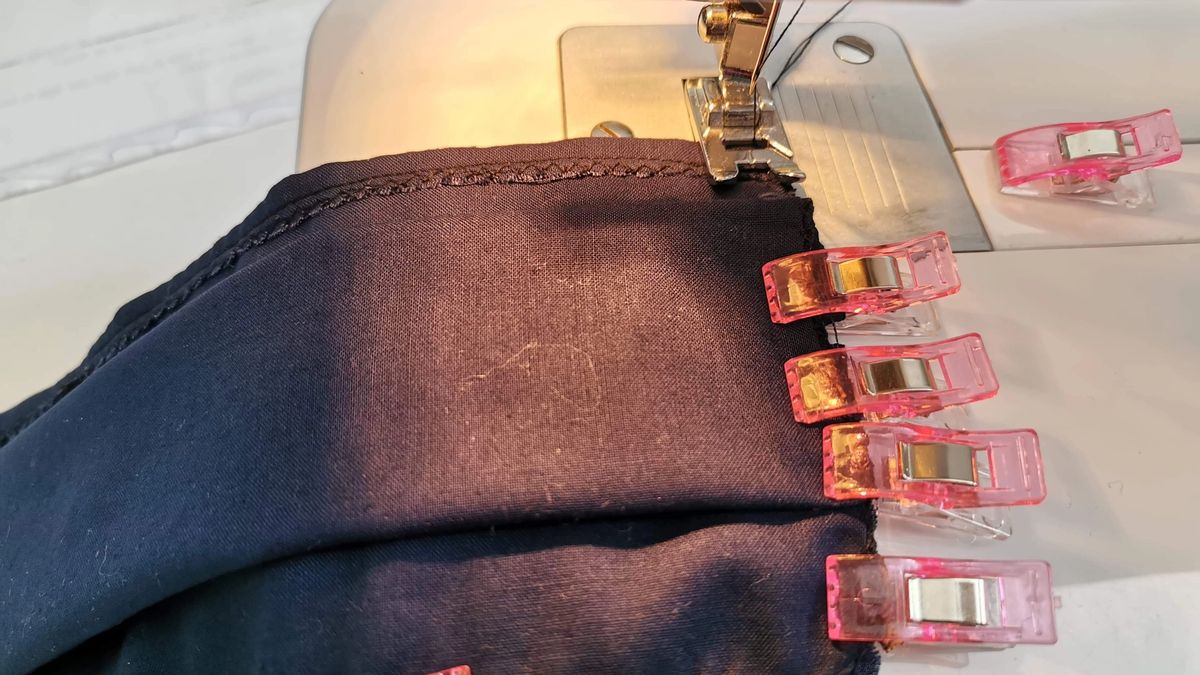
Step 8 - Finish the seams
Turn the mask upside, check that the seams hold correctly.
Sew a seam all along at 1cm / 0.4in from the edge in order to keep the fabric layers together during washes. Start this seam on the top edge at 2cm / 0.8in from the right or left edge. Follow the border around and finish on the other side at 2cm / 0.8in from the edge.
This way we keep a large opening to slide in our filter, which will be well maintained.


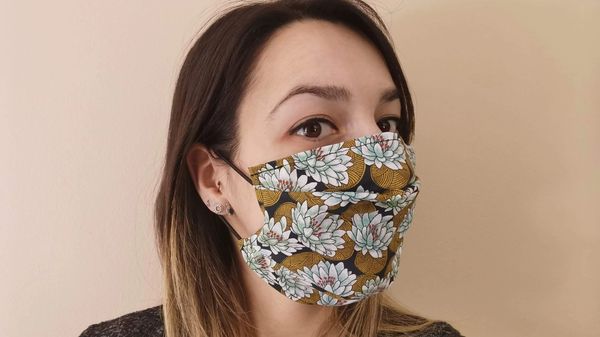
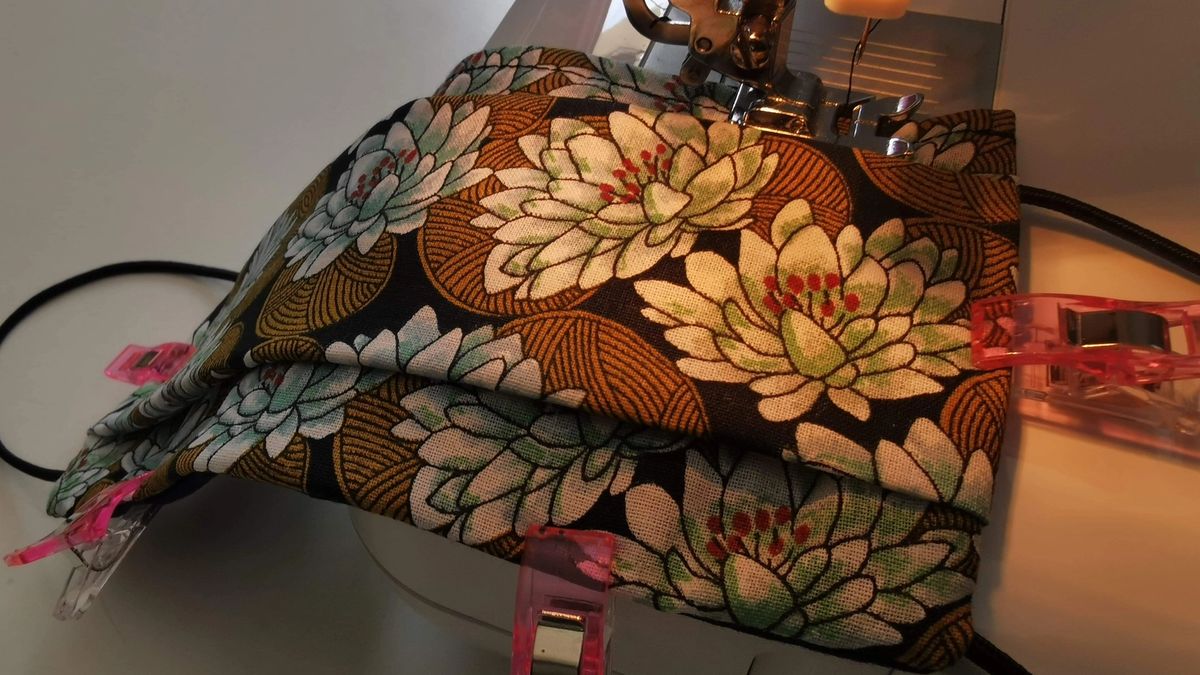
Step 9 - And voilà !
Well done! You can now insert your filter in the opening.
You now have a great personalized mask, your new fashion accessory!


